Dodge Ram Tire Size, Load Rating and Fitment Guide
A Ram tire change should begin at the truck, not with a size search. The useful question is whether one exact tire, wheel and pressure combination can carry the intended load and move through the full steering and suspension range without contact.
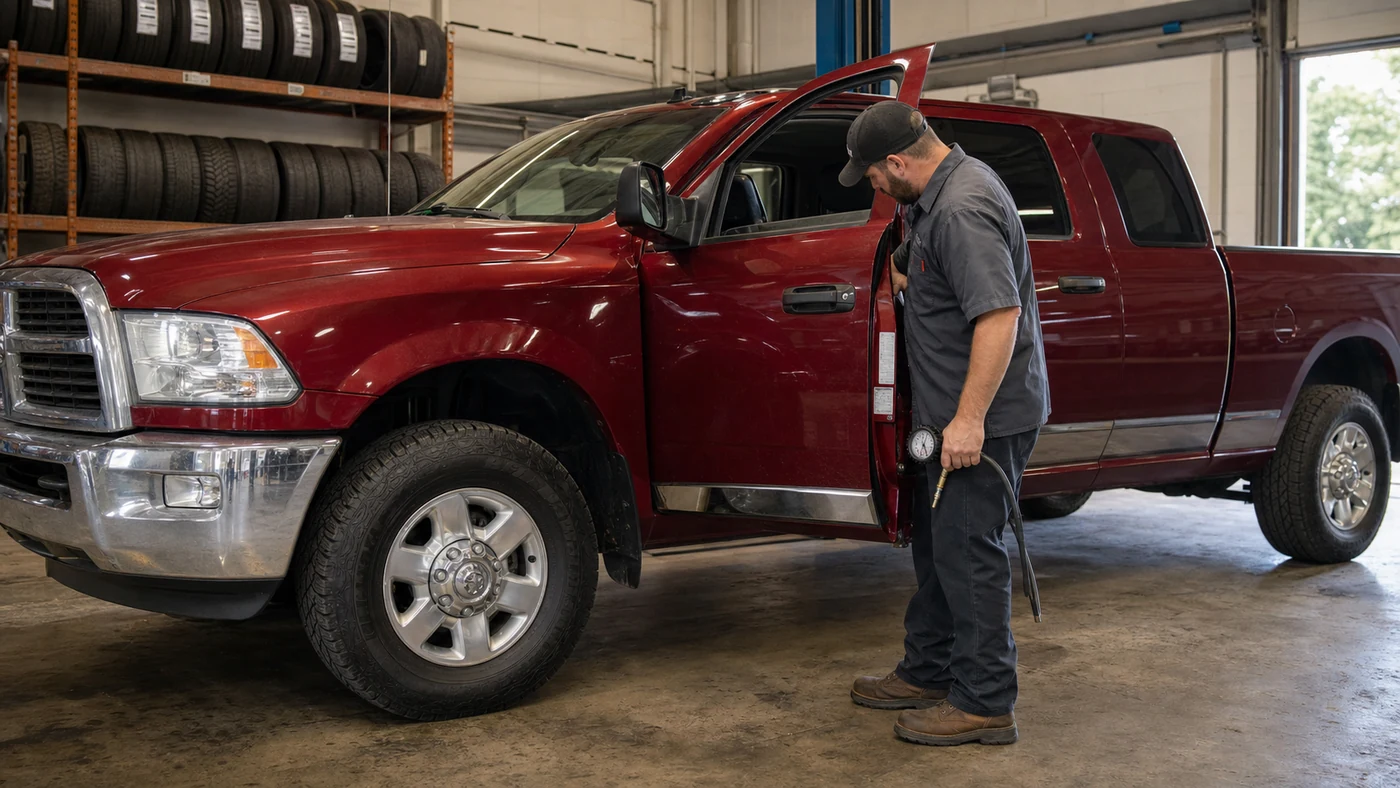
Open the driver’s door and photograph the Tire and Loading Information label before comparing tires. Then check the manual for the exact model year and configuration. The 2024 Ram 1500 manual, for example, directs the owner back to that label for original size and cold pressure. The maximum pressure molded into a tire sidewall is not a replacement for the truck’s specification.
Bring the truck into the decision
“Ram 1500,” “2500” or “3500” is only the start of the work order. Model year, drivetrain, axle package, brakes, cab and bed configuration, wheel size and factory option group can change what fits. A lift, leveling kit, spacer or non-stock wheel adds another set of measurements; it does not erase the vehicle limits printed on the certification label.
Write down front and rear tire size, cold pressure, GVWR and both GAWR values. Add the wheel diameter, width and offset if those are known. Finally, describe the real use: empty commuting, cargo, towing, a slide-in camper or frequent trail travel. A larger tire cannot raise the truck’s certified payload, axle or towing ratings.
Read the whole tire-and-wheel combination
A size such as LT275/70R18 combines construction, nominal width, aspect ratio and wheel diameter. A flotation size such as 35×12.50R20LT uses a different naming pattern. Neither string alone proves capacity or clearance. Two products with the same nominal size can still have different measured diameters, section widths, approved rim ranges and load data.
The service description adds load index and speed symbol. Load range describes construction and inflation capability; it is not a substitute for checking the actual load value. For light vehicles, the FMVSS 110 placard rule covers tire-size and cold-pressure information. Heavier configurations may instead fall under the FMVSS 120 tire-and-rim rule. Which standard applies depends on the vehicle, so the certification label remains the first reference.
| Bench check | Evidence to have in hand | Stop condition |
|---|---|---|
| Capacity | Placard, GAWR and exact tire load table | The proposed capacity is below the axle need. |
| Wheel | Diameter, width, offset and wheel rating | The tire maker does not approve that rim width. |
| Pressure | Vehicle cold setting and tire data | The plan relies only on sidewall maximum pressure. |
| Clearance | Inboard, outboard and full-lock measurements | Any contact appears through steering or suspension travel. |
Prove clearance in the bay
Parked clearance is not enough. Slowly move the steering from lock to lock while watching the front and rear of the wheel opening, control arms, sway-bar links, brake hoses, inner liners, mud flaps and aftermarket steps or flares. Then repeat the inspection with controlled suspension movement and the truck’s intended load. A polished spot, cut liner or fresh contact mark means the combination needs correction.
Wheel offset and backspacing determine where the assembly sits. Moving the wheel outward to solve one conflict can create another at the fender and can change leverage on steering or bearing parts. The wheel must also match the tire’s bead diameter, fall inside the approved rim-width range and carry an adequate rating. Compatible valves and TPMS parts belong in the same check.
A change in overall diameter affects more than the wheel opening. Effective gearing, indicated speed, shift behavior, odometer accuracy and ABS or stability-control inputs may change. Compare manufacturer-published overall diameter and revolutions per mile with the factory specification, then determine whether electronic recalibration is required.
Close the job with a usable record
Before mounting, inspect the bead, inner liner, sidewalls and tread for cuts, cracking, impact damage or an improper repair. Tires on the same axle need compatible construction, size, capacity and wear so the truck responds predictably. If the new size differs from stock, confirm that the spare, jack, tools and storage position still make sense for the real vehicle.
- record the exact tire and wheel part numbers;
- record cold pressure and wheel-fastener torque used;
- note full-lock and loaded-clearance results;
- note any required speedometer or electronic calibration;
- recheck pressure, torque and contact marks after the initial road test.